
客服微信

本文为云贝教育 刘峰 原创,请尊重知识产权,转发请注明出处,不接受任何抄袭、演绎和未经注明出处的转载。
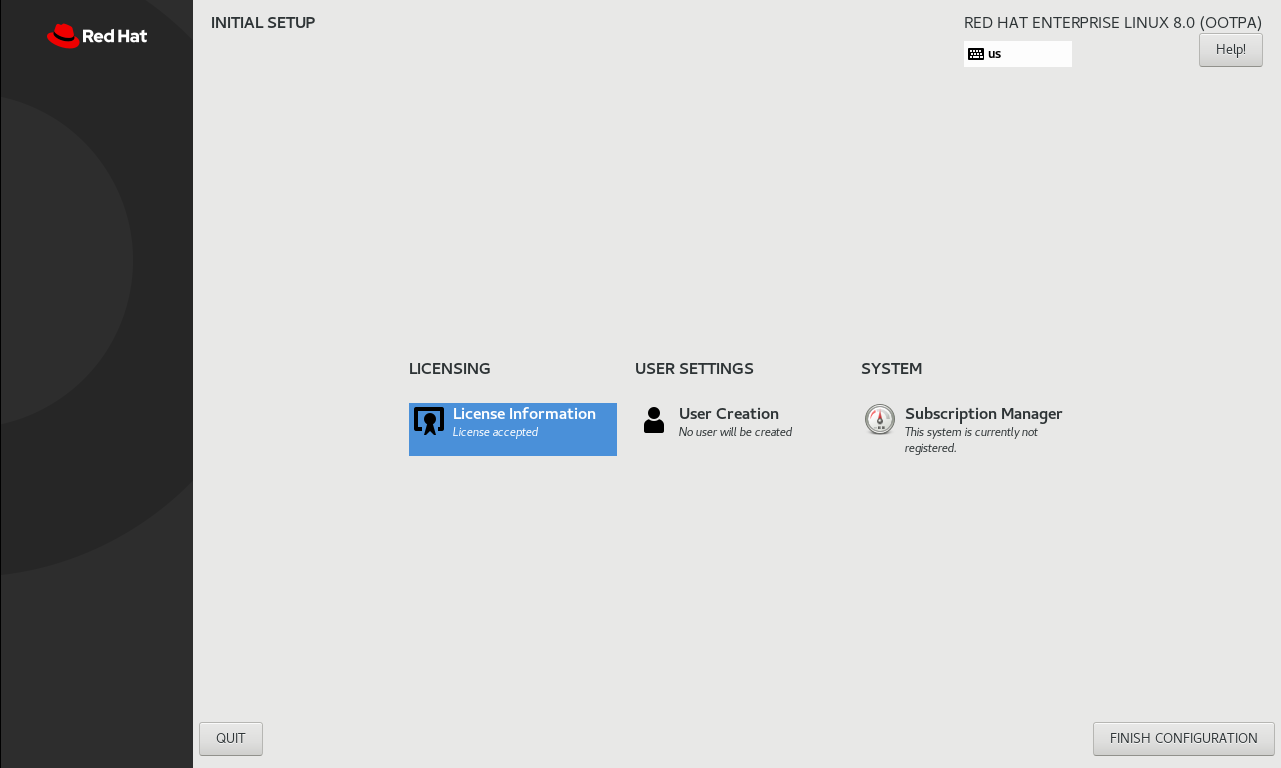
环境说明
|
软件
|
版本
|
|
vmware
|
16+
|
|
redhat
|
8+
|


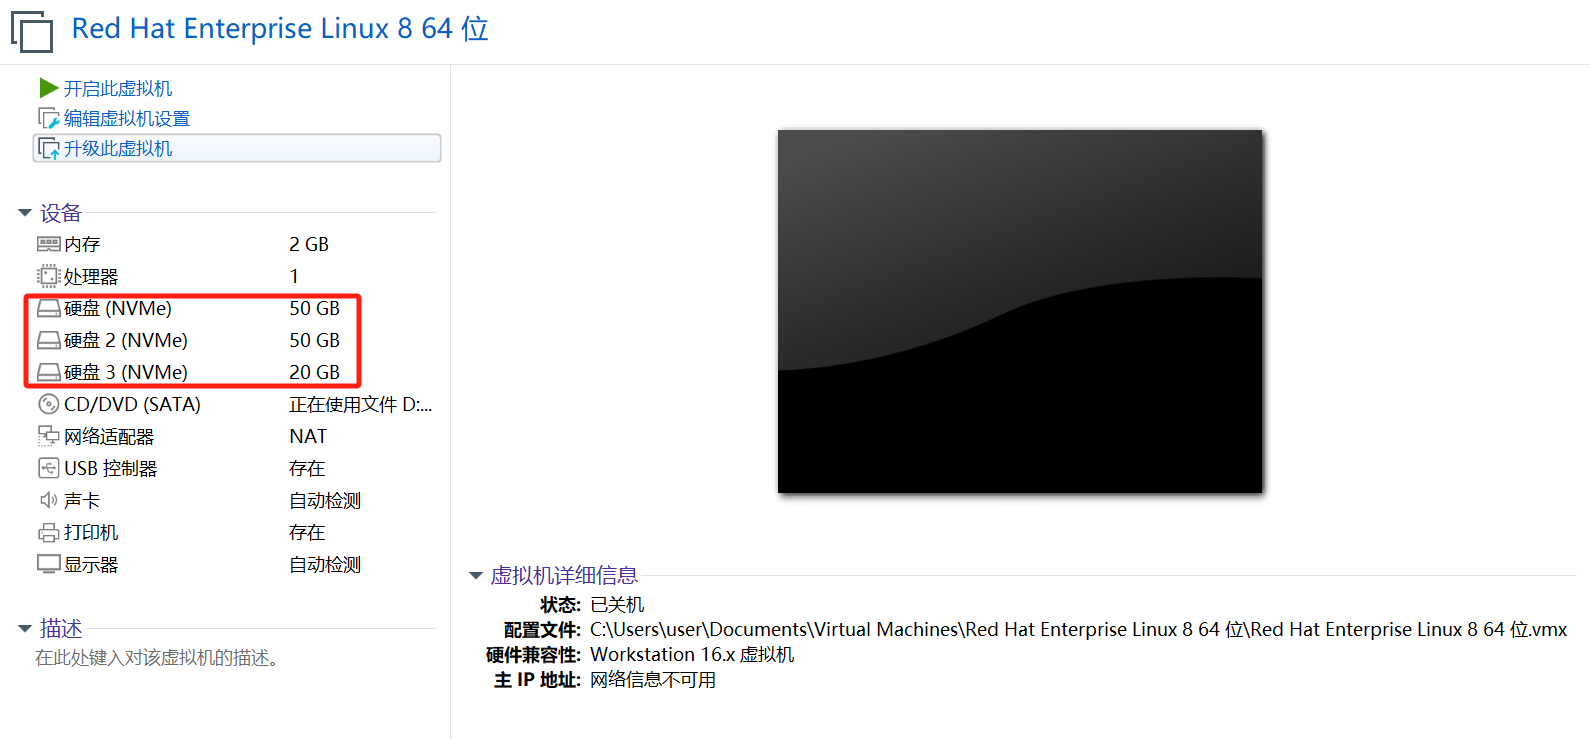


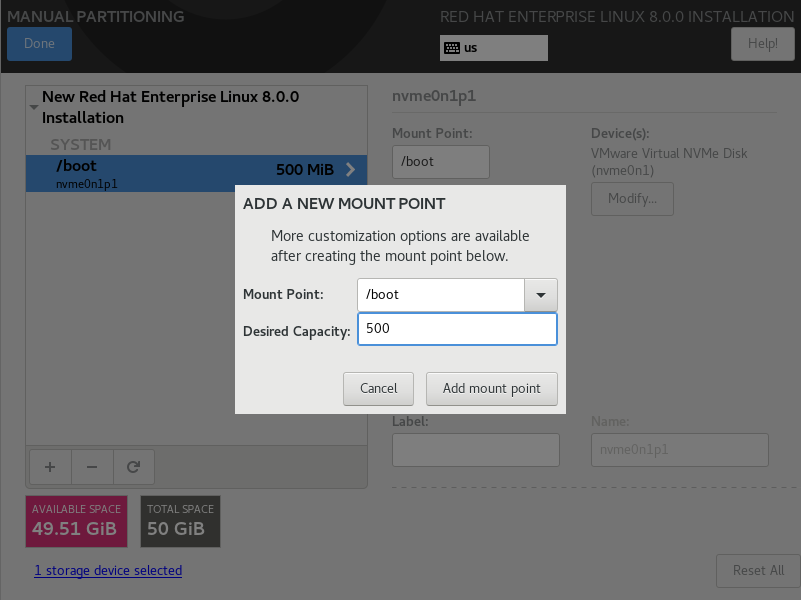
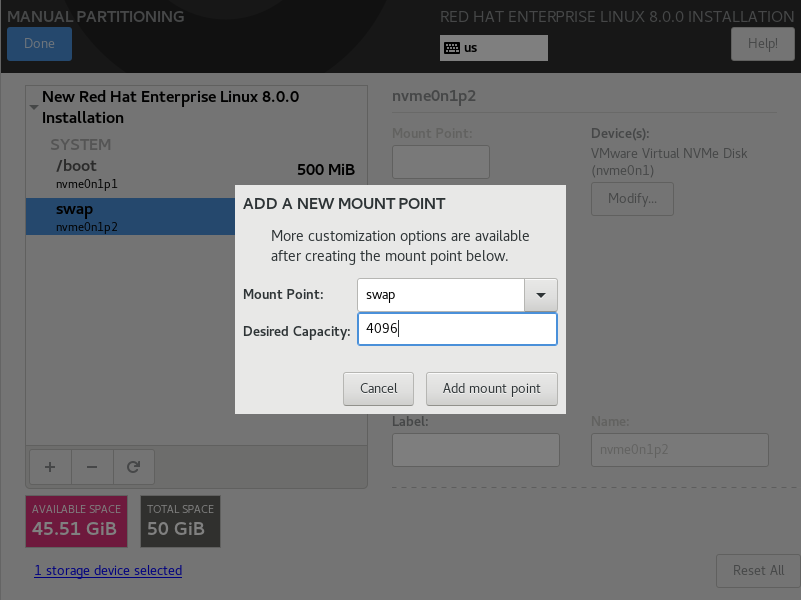
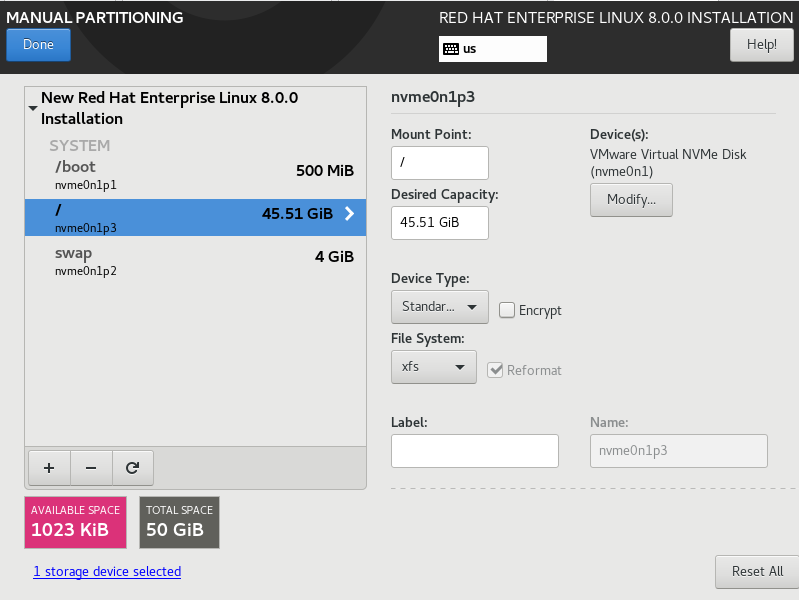
剩下的磁盘给/分区

#hostnamectl set-hostname Oracle19c04

#bash

# hostname
Oracle19c04
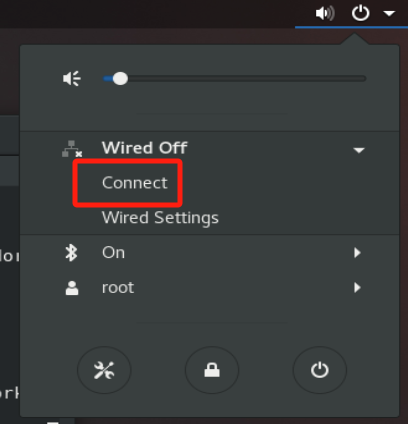

这里IP是自动分配的,我们也可以手工指定IP
查看网卡信息
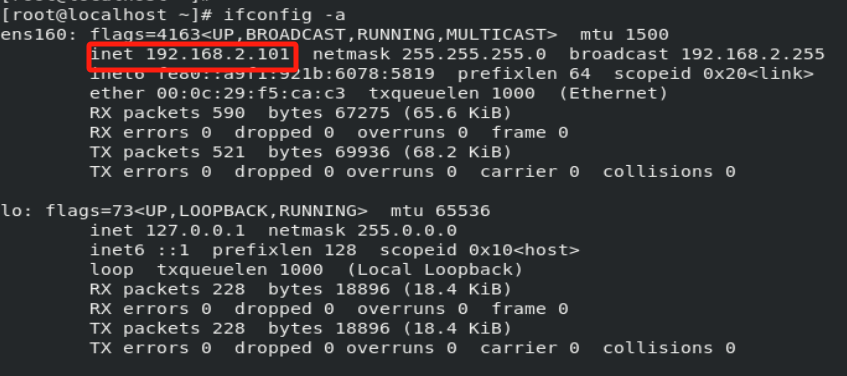
[root@Oracle19c04 network-scripts]# nmcli con show
NAME    UUID                                  TYPE      DEVICE
ens160  bc5226c7-5985-480c-9ad7-3ab65e01d2d1  ethernet  ens160
virbr0  2a18e5e8-73b2-4e1b-a40e-a265960d1c2c  bridge    virbr0
编辑配置文件:/etc/sysconfig/network-scripts/ifcfg-ens160
TYPE=Ethernet
PROXY_METHOD=none
BROWSER_ONLY=no
BOOTPROTO=none
DEFROUTE=yes
IPV4_FAILURE_FATAL=no
IPV6INIT=yes
IPV6_AUTOCONF=yes
IPV6_DEFROUTE=yes
IPV6_FAILURE_FATAL=no
IPV6_ADDR_GEN_MODE=stable-privacy
NAME=ens160
UUID=bc5226c7-5985-480c-9ad7-3ab65e01d2d1
DEVICE=ens160
ONBOOT=yes
IPADDR=192.168.2.101
PREFIX=24
GATEWAY=192.168.2.2
重启网卡
ifdown ens160
ifup ens160
配置dns解析,以下配置二选一
nameserver 8.8.8.8
或
nameserver 114.114.114.114
测试外网
[root@Oracle19c04 network-scripts]# ping www.baidu.com
PING www.a.shifen.com (180.101.50.242) 56(84) bytes of data.
64 bytes from 180.101.50.242 (180.101.50.242): icmp_seq=1 ttl=128 time=13.8 ms
64 bytes from 180.101.50.242 (180.101.50.242): icmp_seq=2 ttl=128 time=15.2 ms
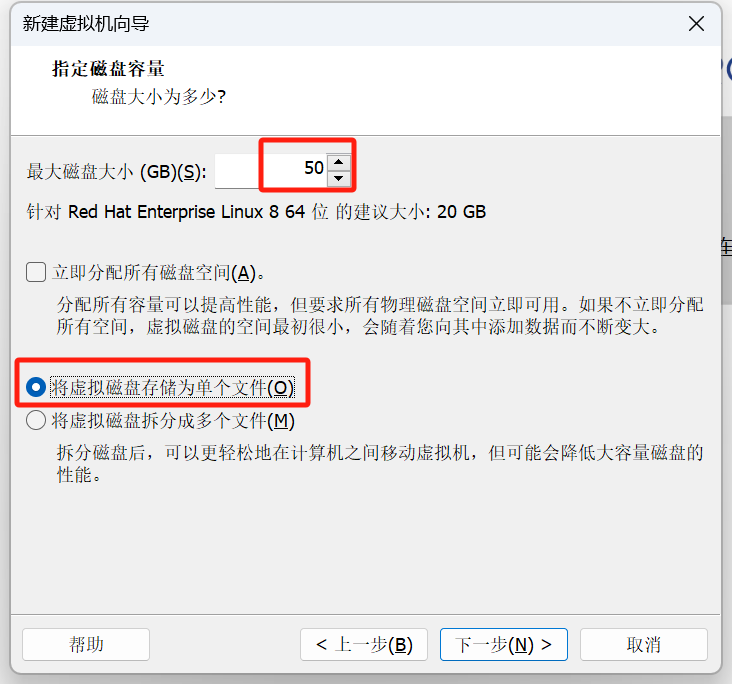
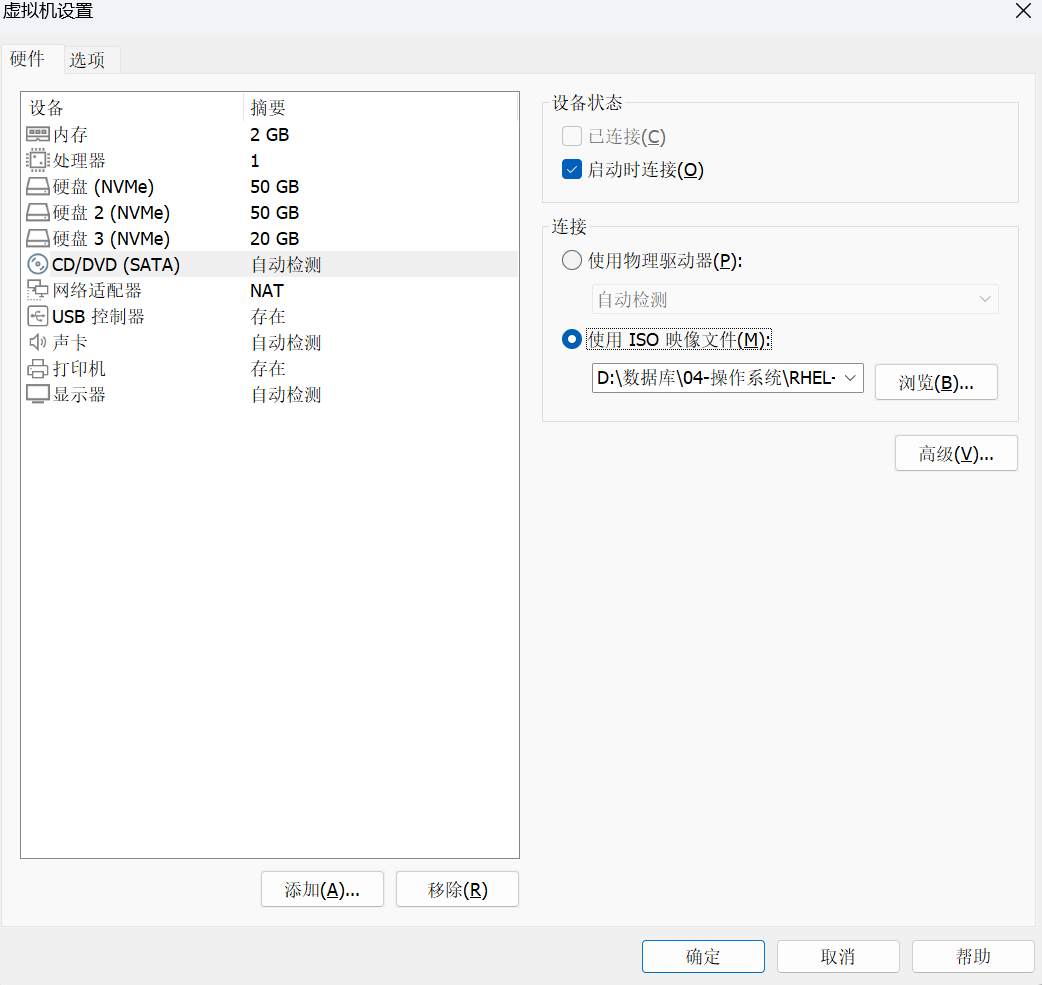
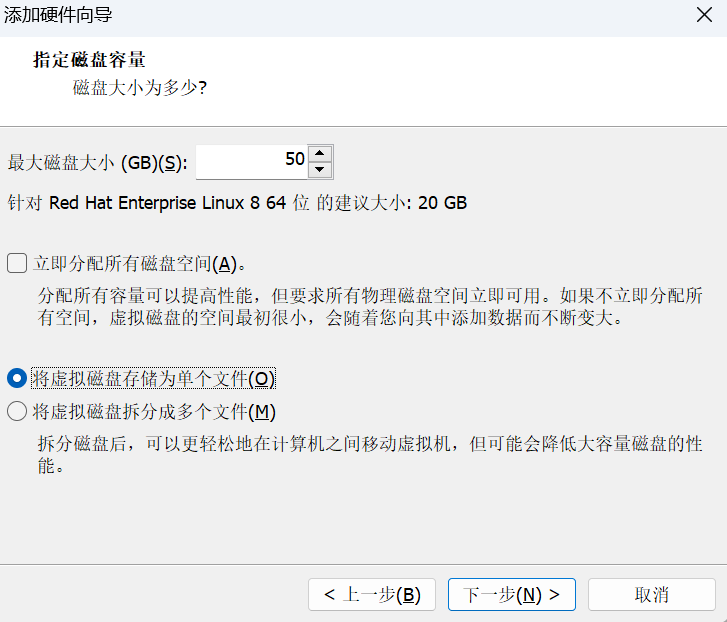
# fdisk -l

Disk /dev/nvme0n2: 50 GiB, 53687091200 bytes, 104857600 sectors
Units: sectors of 1 * 512 = 512 bytes
Sector size (logical/physical): 512 bytes / 512 bytes
I/O size (minimum/optimal): 512 bytes / 512 bytes


Disk /dev/nvme0n3: 20 GiB, 21474836480 bytes, 41943040 sectors
Units: sectors of 1 * 512 = 512 bytes
Sector size (logical/physical): 512 bytes / 512 bytes
I/O size (minimum/optimal): 512 bytes / 512 bytes
针对磁盘分区
# fdisk /dev/nvme0n2

Welcome to fdisk (util-linux 2.32.1).
Changes will remain in memory only, until you decide to write them.
Be careful before using the write command.

Device does not contain a recognized partition table.
Created a new DOS disklabel with disk identifier 0x457970ba.

Command (m for help): p
Disk /dev/nvme0n2: 50 GiB, 53687091200 bytes, 104857600 sectors
Units: sectors of 1 * 512 = 512 bytes
Sector size (logical/physical): 512 bytes / 512 bytes
I/O size (minimum/optimal): 512 bytes / 512 bytes
Disklabel type: dos
Disk identifier: 0x457970ba

Command (m for help): n
Partition type
   p   primary (0 primary, 0 extended, 4 free)
   e   extended (container for logical partitions)
Select (default p): p
Partition number (1-4, default 1):
First sector (2048-104857599, default 2048):
Last sector, +sectors or +size{K,M,G,T,P} (2048-104857599, default 104857599):

Created a new partition 1 of type 'Linux' and of size 50 GiB.

Command (m for help): p
Disk /dev/nvme0n2: 50 GiB, 53687091200 bytes, 104857600 sectors
Units: sectors of 1 * 512 = 512 bytes
Sector size (logical/physical): 512 bytes / 512 bytes
I/O size (minimum/optimal): 512 bytes / 512 bytes
Disklabel type: dos
Disk identifier: 0x457970ba

Device         Boot Start       End   Sectors Size Id Type
/dev/nvme0n2p1       2048 104857599 104855552  50G 83 Linux

Command (m for help): w
The partition table has been altered.
Calling ioctl() to re-read partition table.
Syncing disks.
具体命令解释如下:
Help:

  DOS (MBR)
   a   toggle a bootable flag
   b   edit nested BSD disklabel
   c   toggle the dos compatibility flag

  Generic
   d   delete a partition
   F   list free unpartitioned space
   l   list known partition types
   n   add a new partition
   p   print the partition table
   t   change a partition type
   v   verify the partition table
   i   print information about a partition

  Misc
   m   print this menu
   u   change display/entry units
   x   extra functionality (experts only)

  Script
   I   load disk layout from sfdisk script file
   O   dump disk layout to sfdisk script file

  Save & Exit
   w   write table to disk and exit
   q   quit without saving changes

  Create a new label
   g   create a new empty GPT partition table
   G   create a new empty SGI (IRIX) partition table
   o   create a new empty DOS partition table
   s   create a new empty Sun partition table
确认分区
# file /dev/nvme0n2p1
/dev/nvme0n2p1: block special (259/7)
mkfs.xfs /dev/nvme0n2p1
4)挂载分区
创建挂载目录
mkdir /u01
挂载分区到指定目录
mount /dev/nvme0n2p1 /u01
检查挂载点
df -Th
针对第二块盘也是同样的操作
编辑配置文件 /etc/fstab
/dev/nvme0n2p1 /u01 xfs defaults 0 0
也可以查出分区的UUID,通过UUDI挂载
[root@Oracle19c04 ~]# blkid /dev/nvme0n2p1
/dev/nvme0n2p1: UUID="90d6542a-ac29-4ed7-9d91-927224b92b7e" TYPE="xfs" PARTUUID="457970ba-01"

UUID=90d6542a-ac29-4ed7-9d91-927224b92b7e /u01 xfs defaults 0 0
1)下载yum文件
wget -O /etc/yum.repos.d/CentOS-Base.repo http://mirrors.aliyun.com/repo/Centos-8.repo
2) 测试yum
yum -y install lrzsz


